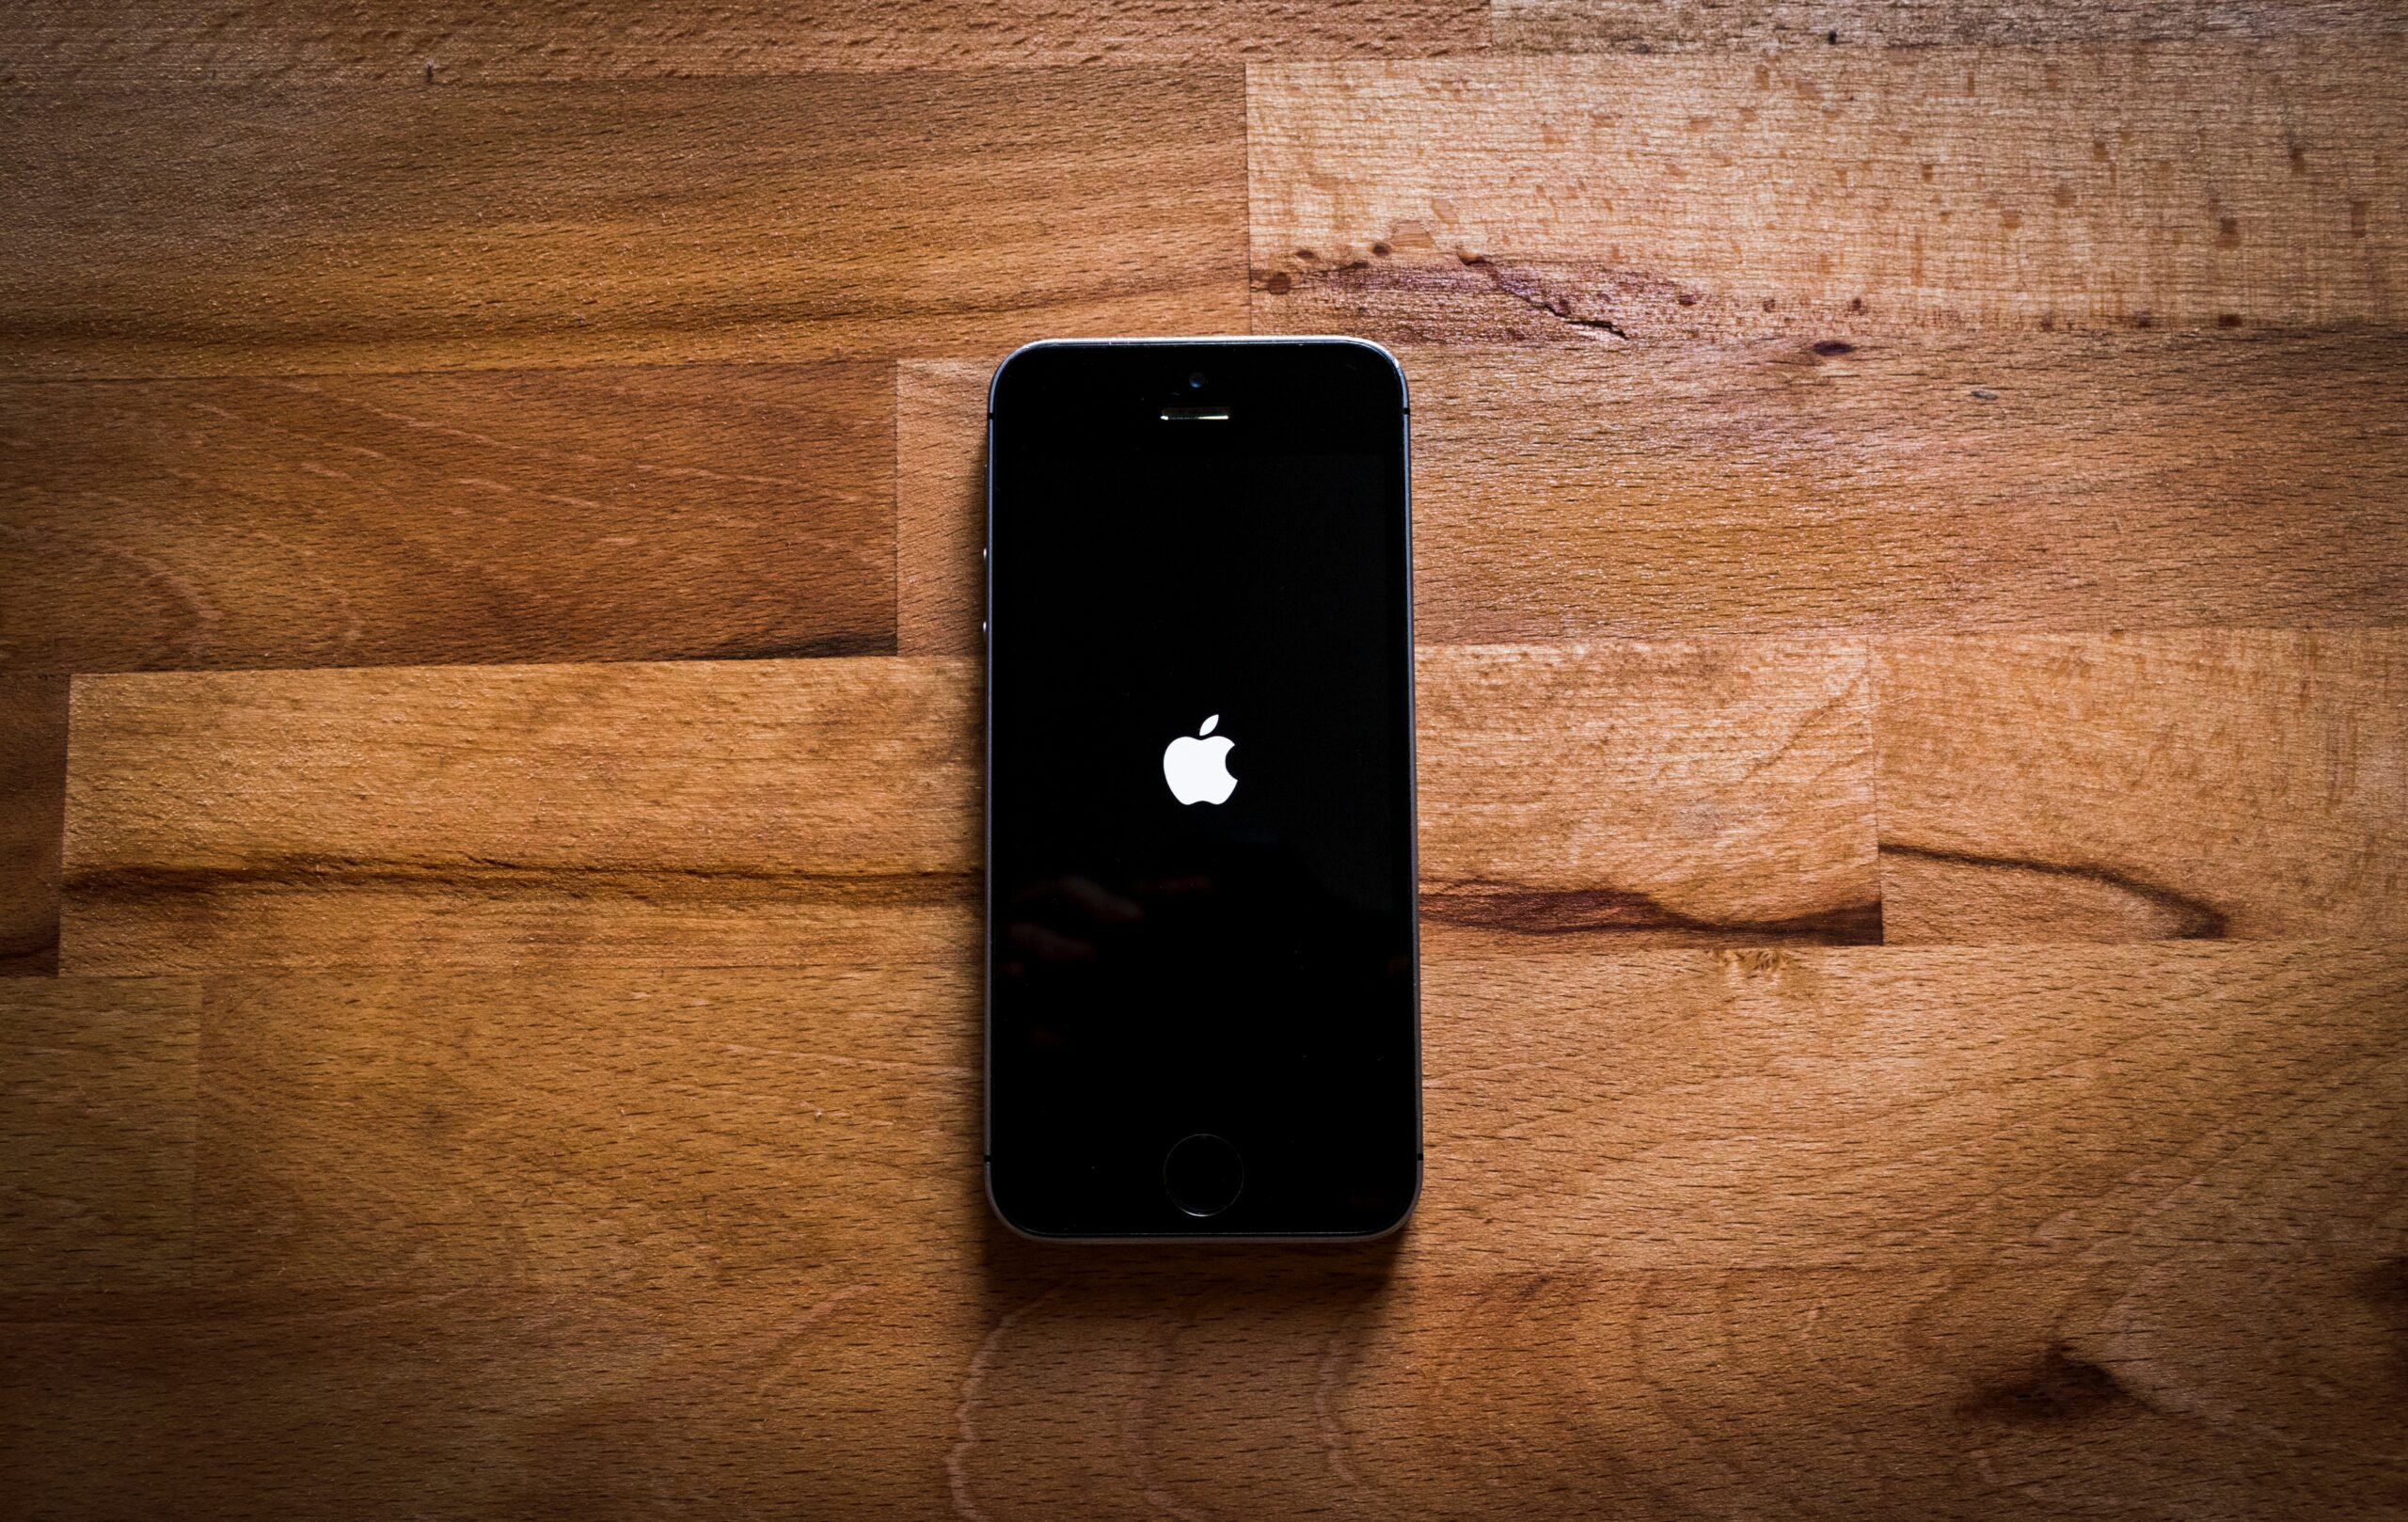
If you’re planning on selling your iPhone or sending it in for repair, you’ll need to know how to take it apart. This guide will show you everything you need to know about taking apart your iPhone, including which tools you’ll need and how to safely remove the various components.
Before we get started, there are a few things you’ll need to have on hand:
- A small Phillips head screwdriver
- A small flat head screwdriver
- A pair of tweezers
- A suction cup (optional)
How to take apart iphone 5c
1. First, use your Phillips head screwdriver to remove the two screws from the bottom of the iPhone.
2. Next, use your suction cup (or your fingers) to slightly pull up on the bottom edge of the front glass. Be careful not to apply too much force, as you could break the glass.
3. Once there’s a small gap between the front glass and the back casing, insert your flat head screwdriver and gently pry the two apart.
4. With the front glass and back casing now separated, you should be able to see the battery. Use your tweezers to disconnect the battery from the connector, then lift it out of the phone.
5. Next, remove the metal bracket that holds the LCD in place. There are two screws that need to be removed, as well as a small connector.
6. With the bracket out of the way, you can now remove the LCD screen. Be careful not to damage the flex cable that connects it to the logic board.
7. The final step is to remove the home button assembly. There are three screws that need to be removed, as well as the flex cable.
And that’s it! You’ve now successfully taken apart your iPhone.
What to do if something goes wrong
If you’re having trouble taking your iPhone apart, or you’ve damaged a component, we recommend taking it to a professional for repair. Trying to fix it yourself could do more harm than good.
Putting the phone back together again
Once you have all the components removed, it’s time to put the phone back together again. Follow these steps in reverse order and you should have no trouble putting your iPhone back together.
1. Start by attaching the home button assembly. Be sure to line up the three screws and connect the flex cable before tightening everything down.
2. Next, attach the LCD screen. Again, be careful not to damage the flex cable.
3. Once the LCD is secure, replace the metal bracket and screw it in place.
4. Now it’s time to reconnect the battery. Use your tweezers to carefully connect the battery to the connector, then lower it into place.
5. With the battery in place, you can now reattach the front glass and back casing. Start by lining up the screws, then use your suction cup (or fingers) to gently push the two pieces together.
6. Finally, screw the bottom screws back in place and you’re all done!
If you found this guide helpful, be sure to check out our other iPhone repair guides. We also offer a wide range of replacement parts and tools if you need them.


More Stories
Pinpoint Precision: Navigating Geolocation App Development
Essay Writing Services: An Effective Solution for Students
Under the Vegas Stars: Your Guide to Vegas Star Casino