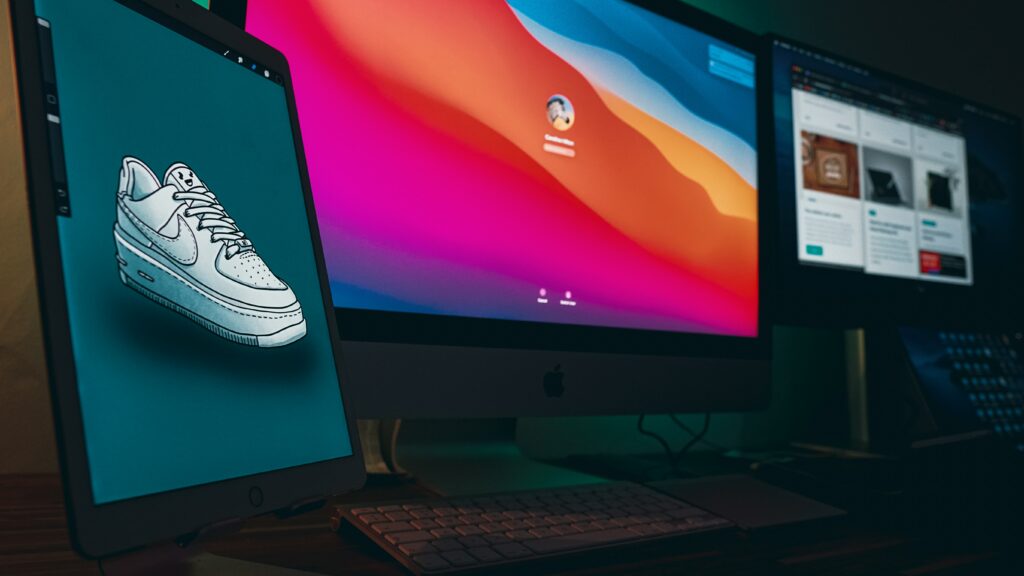
In this Procreate tutorial, we’ll show you how to use the app to create beautiful digital paintings. You’ll learn about the various brushes and tools available, and how to use them to create stunning artwork. We’ll also show you how to export your paintings so you can share them with the world. Ready to get started? Let’s go!
When you first open Procreate, you’ll be greeted with a blank canvas. To start painting, simply select a brush from the toolbar at the bottom of the screen. There are a variety of brushes to choose from, each with its own unique characteristics. Experiment with different brushes to find the ones that you like best.
how to import fonts to procreate
Once you’ve selected a brush, it’s time to start painting! Use your finger or a stylus to begin drawing on the canvas. Procreate uses a pressure-sensitive brush system, which means that the harder you press, the thicker the line will be. You can also change the opacity and size of your brush by tapping the ‘Brush Settings’ icon in the toolbar.
If you make a mistake while painting, don’t worry! Just tap the ‘Undo’ button in the toolbar to undo your last stroke. You can also use the ‘Eraser’ tool to erase unwanted parts of your painting.
What is Procreate and what can it do?
When you’re happy with your painting, tap the ‘Share’ button in the toolbar to export it. You can then share your artwork with the world via email, social media, or any other sharing method you prefer. That’s all there is to it! With a little practice, you’ll be creating beautiful digital paintings in no time. Thanks for watching, and we’ll see you next time.
How to create a basic sketch in Procreate
1. Open Procreate and create a new canvas.
2. Select the pencil brush from the toolbar.
3. Use your finger or a stylus to begin drawing on the canvas.
4. To change the opacity, size, or other settings of your brush, tap the ‘Brush Settings’ icon in the toolbar.
5. When you’re finished, tap the ‘Share’ button in the toolbar to export your painting.
Adding color and shading to your sketches in Procreate
Now that you know how to create a basic sketch in Procreate, it’s time to add some color and shading. This will give your painting more depth and realism. To start, select the ‘ Paintbrush ‘ tool from the toolbar. Then, choose a color from the palette and begin painting over your sketch.
As you paint, you’ll notice that the brushstrokes become more opaque the longer you hold down. This is because Procreate’s brushes are pressure-sensitive. The harder you press, the more color will be applied to your painting. To add shading, select a darker color from the palette and paint over the areas you want to be shaded. You can also use the ‘burn’ and ‘dodge’ tools to darken or lighten specific areas of your painting.
Working with layers in Procreate
Layers are a great way to add more depth and complexity to your paintings. They also make it easy to experiment with different design elements without affecting the rest of your painting. To create a new layer, tap the ‘+’ icon in the layers panel. Then, select the desired brush and begin painting on the new layer.


More Stories
Optimizing Digital Production: The Role of a Cloud Render Farm
Navigating the Global Mosaic: Localization Strategies for Emerging iGaming Markets
Discovering Why No Deposit Bonuses Are Becoming a Rare Find in 2026